Tuesday, December 24, 2013

On the Night Before Christmas.....

Christmas Eve is one of my favorite nights of the year!!!  We spend it at home, usually wearing matching pajama pants I've sewn up for all of us (this year they were monkeys!) and enjoy a candle-lit dinner of ham and cheesy potatoes.  Simple, but yummy.  Love the way my centerpiece turned out this year! I wanted to do something different, so we cut some branches off our pine tree and stuck them in a wooden box with these giant candy canes I found at Costco.  Also love our very eclectic and colorful set of Christmas dishes.  Makes it easy to add a few new plates to mix and match when you don't have a full set. 

While I'm making the final dinner preparations, Buddy the Elf comes to visit and leaves the kids a little present on the door step.  Very exciting!  We enjoy our dinner together and the kids exchange their gifts to each other.  This year they bought them with their own money and it was sweet to see how thoughtful they were.

We always read the story of Christ's birth from the Bible.  As we get to the part about the wise men, I present each child with a red, green and a gold gift.  Myrrh was a cleaning agent and so the corresponding green gift represents something that is needful, which, means my kiddos usually get new underwear or socks.  The red gift represents frankincense, which, like a fragrant oil, is something good for their spirit, or soul, and is usually art supplies, music or a good book.  The gold gift is something that's just frivolous and fun, such as a little blingy jewelry, perfume, a treat or a fun toy.  The kids get so excited about these little gifts, but it also leads to some great discussions about the meaning of Christmas.

When I was a child, my Dad always read us"Twas the Night Before Christmas" before bed, so we always finish our evening with a darling pop-up version he gave us several years ago.  The kids leave a note and some cookies for Santa, along with carrots for each of the reindeer, and hopefully settle down for a good night's sleep.....
MERRY CHRISTMAS!!!

Sunday, December 22, 2013

Elf Night

K, this was one of those things I threw together one year thinking it would be funny, and never imagined it would become one of the kids' favorite traditions.  But it did.  And they look forward to this every year.....
We love all of our Christmas movies, but I'm pretty sure Elf is our favorite!  So, on Elf night I cook up a big ol' pot of spaghetti, dish it up for the kids and let them top it with m&m's, colored marshmallows, pop tarts, chocolate sauce and, of course..... Syrup!!!

Yes, it's gross.  And gets worse when they mix it up with their hands "Buddy style" and actually eat it!!!


..... and wash it down with their own mini-bottles of Coke!!!  Followed by a belching contest, which, btw,  I have never won.  It's hilarious and lots of fun!  Because "(we) just like smiling!  Smiling's our favorite!"

Of course, they can't eat very much of this stuff before they feel a little sick, so I'm on stand-by to serve them a real spaghetti dinner complete with garlic bread and some of that green salady stuff.


Then we all watch the movie..... and snuggle!!! 
MY favorite part! =)

Saturday, December 21, 2013

Feeling Cheesy?

My kids absolutely love all of the sweet treats and cute things our friends and neighbors drop by this time of year.  It's like sugar heaven!  Which is why we started this little tradition several years ago..... cheese balls and crackers.  Feeling a little too sugared out one year and looking for something non-sweet to make for our friends, I found this recipe in the Lion House Christmas Recipe cookbook and we've been making them ever since.....

Festive Cheese Ball
2 8 oz. packages cream cheese (Tip:  buy the Philadelphia stuff and                   not a generic.  Much better result!)
2 cups finely grated sharp cheddar cheese
2 tablespoons finely chopped green onions (I like to add a little bit more           to taste)
2 teaspoons Worcestershire sauce
1 teaspoon lemon juice
1/2 teaspoon lemon pepper
1 cup finely chopped nuts (I use sliced almonds)
Chopped parsley

Soften cream cheese.  Add remaining ingredients except nuts and parsley; mix until well blended.  Dividing mixture in half, spoon into two small bowls lined with wax paper.  Refrigerate for several hours.  Lift out wax paper with cheese mixture from each bowl and mold cheese into ball, using wax paper to protect hands.  Roll each ball in chopped nuts and parsley.  Refrigerate.  Remove about 15 minutes before serving and serve with a variety of crackers.


We make a lot of these every year, so I usually triple the recipe for each batch and use a giant muffin tin lined with wax paper to portion amounts and chill them in that overnight, or also take them out after filling and place in a glass pan until ready to shape.  Once I've rolled them in the nuts and parsley, I wrap them in clear plastic before placing on plates and wrapping in cellophane, of course! =)  Some years I've done them on platters with little cheese spreaders, and other times we use cute paper plates.  I found some adorable plastic peppermint design plates on clearance at Michael's this year and can't wait to put them together!  A seriously yummy recipe that's really easy to make.

Monday, December 16, 2013

Cute, Little Neighbor and Teacher Gift Ideas

One of my very favorite parts of Christmas is putting together little gifts for friends, neighbors, teachers, etc.  Love it!!!  However, some years I have more time than others and sometimes I get an earlier start on it.  We've done all sorts of things..... from big hand-stenciled signs, baskets filled with goodies, hand-made wood boxes filled with treats to bottles of sparkling cider wrapped up in cellophane to wish people a Happy New Year when we've missed Christmas entirely.  A few years ago I made these little snowmen..... pretty sure this was a New Year's gift too, but all wrapped up in cellophane with some cute tags and I'm sure they were still well received.  Things that can stay up after Christmas are always nice.

Last year, I was in a huge rush to put something together for all of my kids' teachers and found these darling boxes of hot cocoa at Target.  Easy peasy, especially since everything looks better wrapped in cellophane!  Mugs with a cocoa mix and a candy cane look great all wrapped up too.  Found some really cute boxes of taffy at the grocery store this year.  It doesn't need to be fancy.  Or difficult.  I love to make things when I can, but we also spend lots of time baking and putting together food gifts to run around (Yes.  Recipes are coming!) and it makes for a really enjoyable time together.  

This year I decided to make some simple wood blocks finished with scrapbook paper and vinyl lettering.  When you're making a lot of them, they really come together pretty fast.


And the cellophane is magic!!!  =)  I know it's probably weird, but the sight of my piles of little gifts all ready to go always makes me happy.  Almost as much as delivering them.....

Saturday, December 7, 2013

Decorating Makeovers: Something Pretty for Our Table and a Blingy Banister

 
So, I've had this centerpiece for several years, and it shows.  Lots!  But not wanting to just throw it out and hoping I could breathe some new life into it..... I added some extra pieces of greenery, berries and pinecones I had on hand with a little twisting and some green floral wire.  (Btw, a great way to come up with extra pieces of greenery is to cut apart a long garland.  You can always buy a basic pine garland for very little money and I incorporate little bits of them everywhere.)  Wanting to add a little sparkle and since ornaments are my new favorite thing to decorate with..... I hooked some into the garland with ornament hangers.  Bought some new candles, and voila!!!  
Something pretty for our table again.


My next challenge was our banister.  K, this banister is in serious need of refinishing, so much so that I was tempted to hurry and crank that project out before decorating.  But I didn't.  Seems like a great January project, right?  Anyway, I love white lights!  And that's what I use everywhere.  That is until my Dad decided to pass along some extra crazy blinking colorful lights that my kids absolutely fell in love with.  And wanted me to put up somewhere.  So, they landed on this banister and two years ago when they failed, I was even suckered into replacing them.  For the children.  =)   Total proof of my love, cuz they're really not my favorite and when my daughter strung them over our wimpy garland this year, I knew I had to do something.....

So..... I bought another cheap garland and thickened it up a bit.  Found some beautiful red ribbon at Hobby Lobby and a whole bunch of sparkly picks.  I figured if this was going to be a colorful banister, it might as well be blingy too!  But even after adding all of that, it still looked empty and blah.....  

Until......

I added some ornaments!!!  Seriously, they are magic.  And now I actually really like our colorful blingy banister and my girls are completely delighted.  Of course, the boy still keeps changing the light setting to the super fast blinky phase just to annoy me, but whatever!


 I placed my little wood sign on a wreath hanger next to the banister and filled an old wooden box with some extra ornaments.  I really love the contrast of my rustic style with their sparkle.  Which is sooo fitting because the new Christmas book I bought this year is "You Are My Miracle" by MaryAnn Cusimano Love.  The story is about a parent with their child commenting on how they compliment one another.  "I am your old stories:  You are my make-believe." And "I am your don't peek; you are my wide eyes."  Just to mention two.  It's a very sweet story, and yes, I did get a little teary over it at the book store.  And maybe again when I read it to my kids the first time.  

I love my kids sooo much and am so grateful for all of the sparkle, fun and joy they bring into my life.  Even if it means colorful flashing lights sometimes!  =)  

Friday, December 6, 2013

Kiwi Lane Designs Blog Hop

Welcome to Ladybugs's Spot!!!  

Sooo excited to be participating in the Kiwi Lane Designs Blog hop!  Read all the way through to find out how to enter to win their $25 giveaway and a BONUS favorite woodcraft original from my Etsy Shop!!!

This is my first time working with Kiwi Lane's designer templates, and I loved it!  I received the Christmas set to create with.  Perfect!!!  
Here's what I came up with......

The Poinsettia template totally grabbed my attention first, and I knew exactly what I wanted to do.  I traced the template onto five different dark red papers, making three of each.  Next, I cut an "X" style slit in the middle of each flower then folded each of the petals in half to give it some dimension.

Staggering the three papers for each flower together, I layered them under one of these cute, little gold ornaments inserted through the slits in the papers.  Next, I stuck in a small spray from my craft store berry picks and added some floral stem wire to the back to hold it all together.  Once the wire was secure, I wrapped and shaped the berries around the ornament part.
View from the back with wire stem.
I repeated this same process for all five flowers, then arranged them in a tall skinny vase.  Wanted to incorporate another texture and some green, so I filled the vase with a garland clipping.  This provided some great stability for my wire stems, which were super easy to bend and arrange exactly as I wanted them to go.  I used another template to cut some bright, corrugated, green leaves, tucked them in and tied some burlap around the vase with twine. Absolutely love the way it looks!!!

These flowers also look great tucked into garlands or wreaths!
Or on packages too!
 Loved those bright green leaves so much I thought they would make for a very elegant wrapping on a special gift.  Gold paper, burlap, some red ribbon..... glued on my leaves, three pieces of curled copper jewelry wire and my favorite glittered glass gems.  Beautiful!!!


 You make the glitter berries by brushing mod podge onto the back them sprinkling with glitter.  Brushing on your adhesive allows for great control over where your sparkles will go.  Simply shake off the excess and finish with a light spray of a high gloss varnish to seal it all in.  I've been using these on all kinds of projects lately and they always look fantastic!
The leaf and berry combination would also make darling cards!  You can even incorporate craft pick berries in place of the jewels with the leaves like we've done in our Christmas Joy Letters!

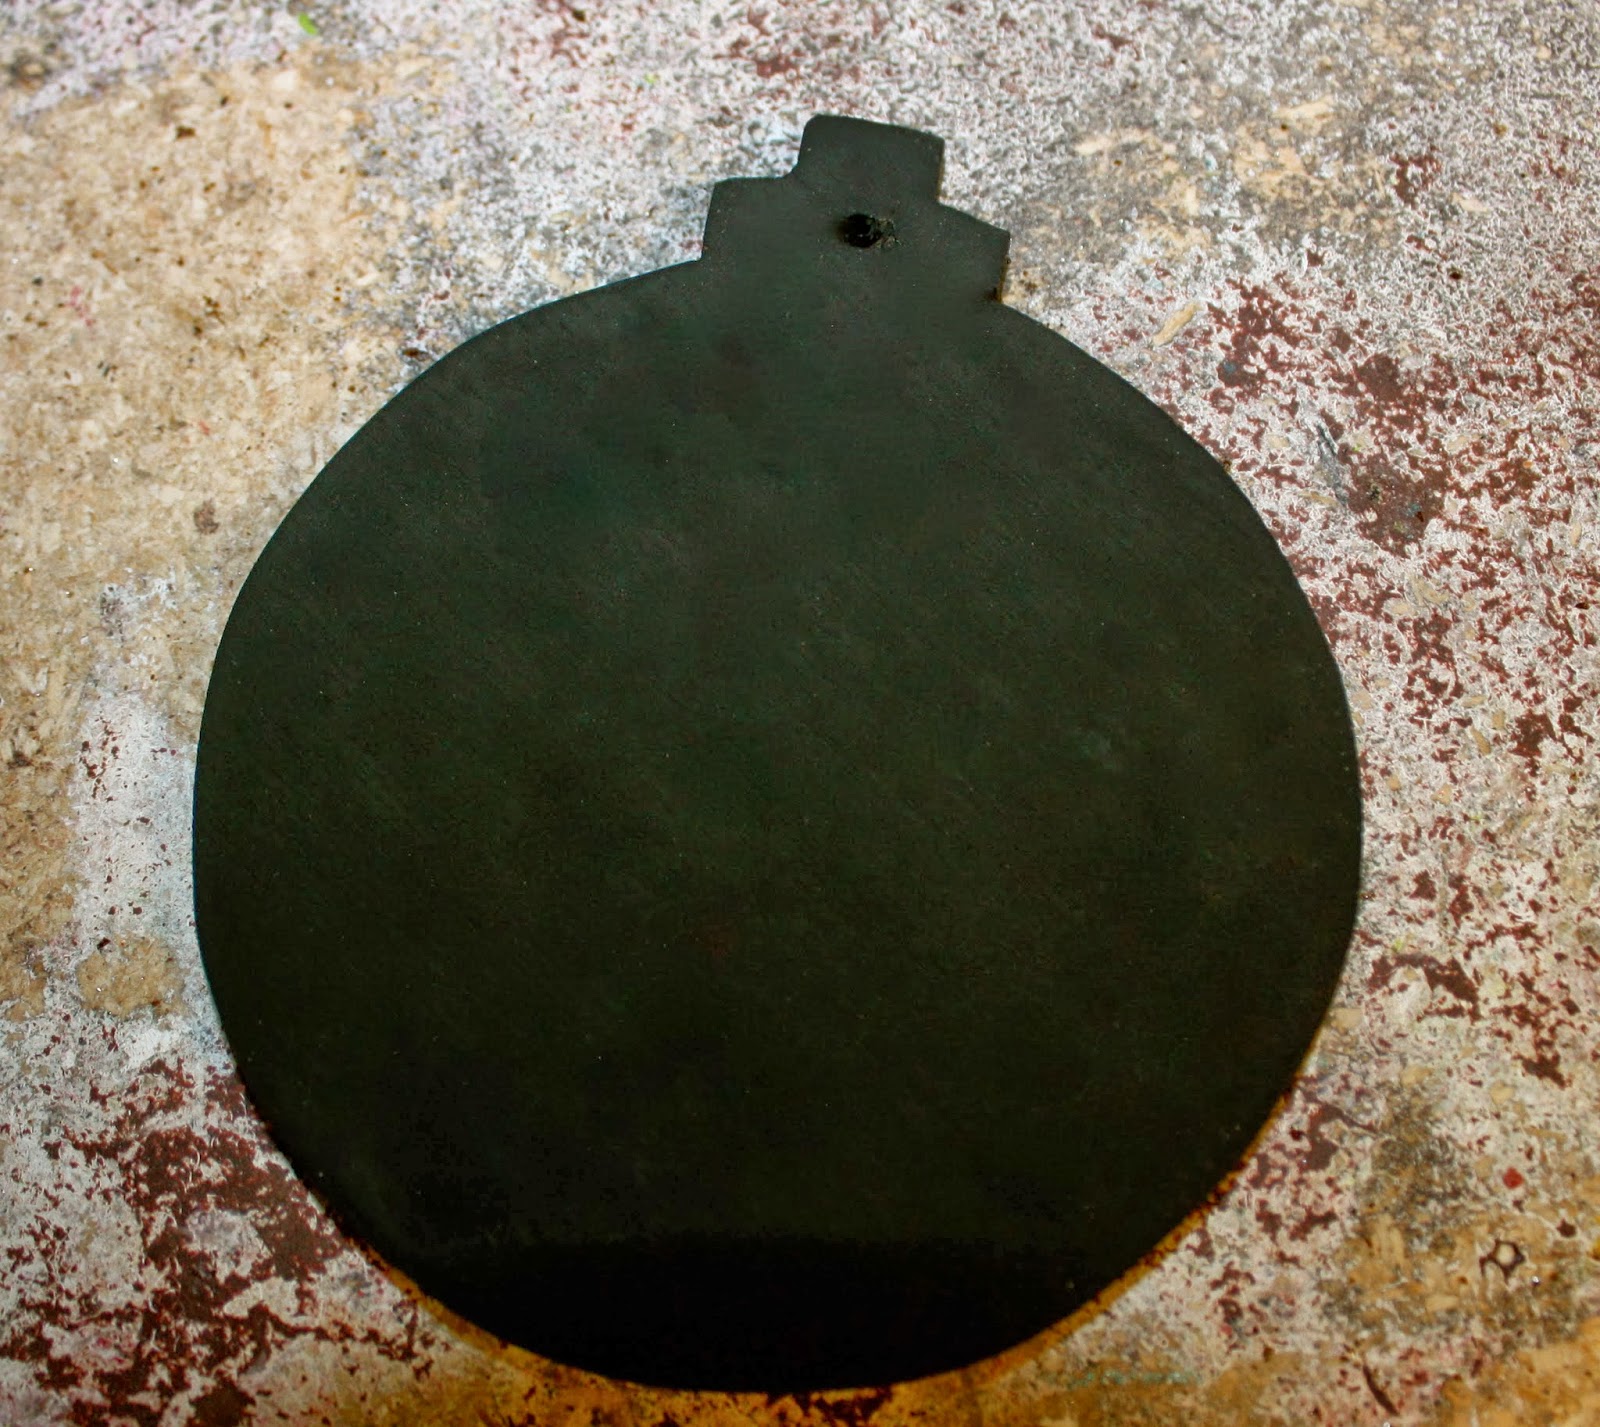
As a wood designer, I had to make some of these darling ornaments!  The large size template in the set would be perfect for some big, chunky ornaments, but I really loved the idea of creating re-usable gift tags!  Using the smaller template I cut out some on 1/8" plywood with my bandsaw.  So quick and easy!

 Sanded down any rough edges, drilled a small hole and sprayed the back side with chalkboard paint.  Took two coats.  Then I painted the front and sides with bright colors and covered them with glitter using the same technique as the glass stones.  Tied some silver cording through the hole and now I have lots of happy, blingy tags to tie onto Christmas presents!  The chalkboard backing makes them totally re-usable and adds such a cute finishing touch!


Seriously loved working with these designer templates and will definitely look for more from Kiwi Lane!

So, here's how this blog hop works.....  Visit each of the blogs listed below and leave a comment on each one as you go along.  You receive one entry per comment and a random winner from one of the blogs will receive a $25 gift certificate to Kiwi Lane Designs!  Awesome!!!

WIN your favorite item from our Etsy Shop too!!! Leave an additional comment on this post about your favorite item from Ladybugs' Spot to be entered to win it!  Shipping included.  Bonus entry if you also become a follower of our blog!  That's a Win Win for sure!  :)

This contest will run though 11:59 PM MST on Sunday, December 8th.


Here's the blog line up.....


  1. Kiwi Lane - Kiwi Lane Designs
  2. Mary Hartmann—Bowden - Me Quilter
  3. Janie McKissick - Typical Scrapbooker Crafts
  4. Carrie Bryant - Happy Scrappin’
  5. Amy Berrett - Ladybugs’ Spot *You are here!*  
  6. Cassandra Henson - For the Love of Scrap
  7. Carrie McDaniel - Carried Away with Crafting
  8. Apryl Holland - One Scrappy Soul
  9. Erin Colby - Our Slice of Cheese
  10. Brenda Smith - The Imperfect Scrapper

Have fun and good luck!!! 

Wednesday, December 4, 2013

Snooper. And some Elfing Fun.

We have a magic, little elf that visits our home randomly during the month of December...... "Snooper."  Little kids leave their shoes outside of their rooms at night, and if he happens to come and their room is clean, he will leave a little treat or small gift inside their shoes.  He makes several stops each year, so there's always a reason to pick up your dirty clothes and make your bed! Amazing how motivated the kiddos are to keep things clean in the hopes of finding a little Sponge Bob or whatever else he may bring..... Magic!!! =)

My girls have had so much fun with this tradition the last few years, they even started their own version.....  Each year, they select several random people they want to leave a little surprise for.  Love to see their thoughtfulness and reasons behind their picks.  Very sweet!  They make cute, little tags from a mysterious elf and attach them to a simple gift or treat.  Then they dress up in elf costumes, including these duct tape shoes, because any proper elf wears goofy shoes, right?  My job is to run them around as they leave their gifts on the doorstep, ring and RUN!!!  My giggly girls may not be the sneakiest elves around, but I love seeing them think about others and get excited for a little random act of kindness..... Good stuff!